关键词:
最近完成一个项目时需要取消谷歌浏览器的密码自动填充功能,为了用户方便,大多浏览器都有保存某个网站的密码并在后面再打开这个网站且需要输入密码的时候自动填充。这个功能是方便,但是我们有时候不需要使用这个功能,怎么样通过前端代码的写法来实现禁用呢,这就是本文的重要内容。
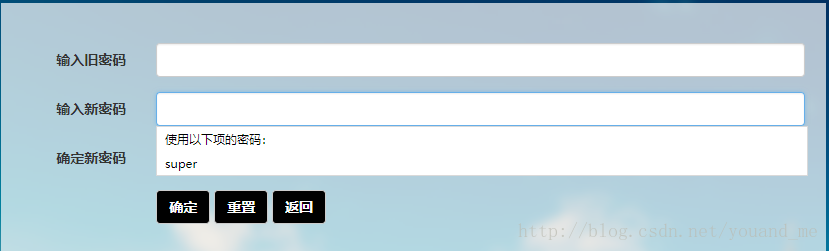
我在项目里遇到的就是这样一个情景,我打开项目网站的登录页面输入用户名密码登录成功,此时谷歌浏览器问是否保存密码,点击保存,然后在我项目里面有修改密码页面,其中包括了旧密码、新密码、重复新密码三个type为password的input标签,当我选中的时候它会有一个下拉选项把保存的密码填充进去(如下图),这显然不是我所需要的,将我用的方式记录下来,有用的话还请点个赞。
须知
登录页面可以是自动填充的,不需禁用,以下我只是用登录页面来举例,具体需要禁用的是类似修改密码页面。
- input标签
首先以下的都是在chorme浏览器上的运行结果,chorme在遇到type=’password’的时候才会有自动填充密码,一般只有单独的type=’text’的input标签是没有填充的。所以一旦我们包含type=’password’的input标签chorme就会把你在当前网站(注意不是网址,是你的整个项目)下保存的密码填充进去。
- autocomplete属性
网上大多数人都说只需要将input标签的autocomplete属性设置为off就行了,事实上呢在一些浏览器上是可以的,但是有些浏览器就不行了,比如chorme(其它浏览器没有试过),chorme老版本的浏览器。
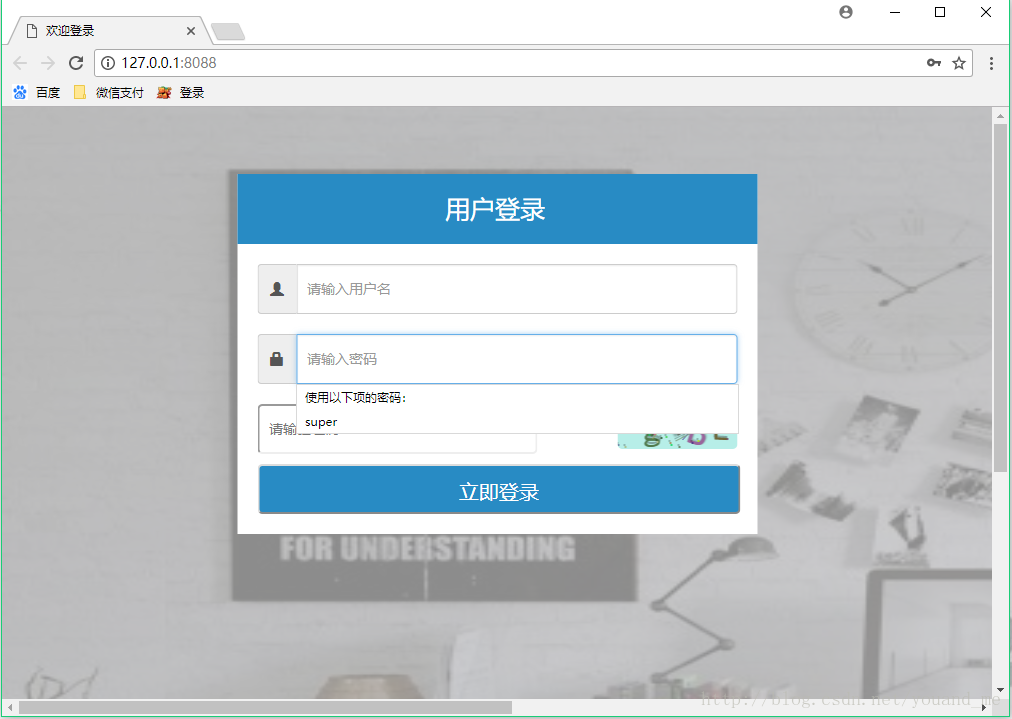
还有人说将autocomplete属性设置为new-password,这时候发现是没有自动填充了,但是点击输入时会有下拉选项选择填充密码(如下图),这不还是没取消吗。
还有说在初始化页面的时候设置type=’text’,在获取到焦点的时候再修改为type=’password’,效果和上面一样。
还有就是添加两个隐藏的input标签(要对应写name属性)来欺骗浏览器,且不说方法很低级(这里我就不贴出来了),最后效果和上面一样。
我的方法
由于自动填充密码是浏览器后面完成的,所以去修改源码不太现实,这和自己造轮子没什么区别。我们只需要让浏览器找不到填充的位置就可以了。具体方式就是先告诉浏览器我的type=passowrd的input标签是一个新创建的密码,也就是设置autocomplete=”new-password”,然后不给这个input标签设置id和name属性,这样就无法填充了,核心代码如下:
 <div class="input-group inputStyle">
    <span class="glyphicon glyphicon-lock dropdown-toggle input-group-addon" style="top: 0px"></span>
    <input class="form-control inputTextStyle" type="password" autocomplete="new-password" placeholder="请输入密码">
</div>- 1
- 2
- 3
- 4
没有id和name属性我们要获取这个标签的值的话可以使用classs属性或者通过父元素来获取:
# 通过父元素获取密码值
pwd = $(‘.inputStyle input[type=password]‘).val();- 1
- 2
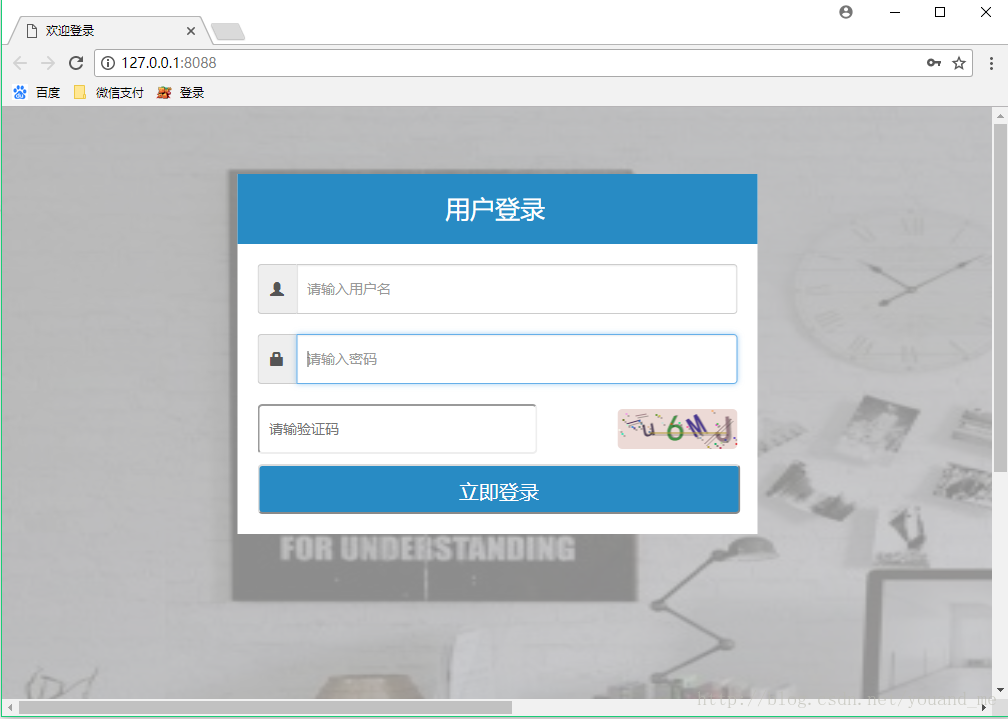
登录页面的完整代码和效果图如下:
<!DOCTYPE html>
<html lang="">
<head>
    <meta charset="utf-8">
    <meta http-equiv="X-UA-Compatible" content="IE=edge">
    <meta name="viewport" content="width=device-width, initial-scale=1">
    <title>欢迎登录</title>
    <!-- Bootstrap CSS -->
    <link href="/static/css/bootstrap.min.css" rel="stylesheet">
    <style type="text/css">
        @media (max-width: 768px)
            body
                margin: 0;
                padding: 0;
                background: #ddd;


        @media (min-width:768px)
            body
                margin: 0;
                padding: 0;
                background-size:1920px 949px;
                background-image: url(‘/static/img/桌面背景.jpg‘);
                width: 1920px;
                height: 949px;

            #myLoginView
                width: 665px;
                padding: 0 0px 20px 0px;
                position: absolute;
                z-index: 1;
                top: 40%;
                left: 50%;
                transform: translate(-50%, -50%);


        .code
            font-family:Arial;
            font-style:italic;
            color:#ffffff;
            font-size:14px;
            border:0;
            cursor:pointer;
            width:120px;
            height:40px;
            line-height: 40px;
            text-align:center;
            vertical-align:center;
            display: inline-block;
            border-radius: 5px;

        a
            text-decoration:none;
            font-size:12px;
            color:#288bc4;

        a:hover
           text-decoration:underline;

        .topTitle

            position: relative;
            background: #288bc4;
            height: 70px;
            line-height: 70px;
            width: 100%;
            color: #ffffff;
            font-size: 25px;
        /*  text-align: center;*/

        .inputStyle
            margin-top: 10px;
            border-radius: 6px;
            margin: 20px 20px 0 20px;

        .inputTextStyle

            width: